

AKA Stone Setting
Every journey begins with solid preparation, and setting up your Ruby on Rails development environment is no exception. Just like the framework itself, this setup can be smooth and elegant. This guide will walk you through your first steps toward the crimson heart of Rails development -simple, powerful, and ready to shine.
While this guide is written with Windows users in mind, the overall process is quite similar on macOS and Linux, with only minor adjustments needed.
In the previous section… Setting Ruby on Rails
By the end of this post, you will have your local development environment ready to develop applications in Ruby on Rails.
Tools
We’ll be installing the essential components:
- Ruby: The core programming language.
- Rails: The web application framework.
- Integrated Development Environment, yes IDE: Where you’ll write and manage your code.
Installing Ruby
Before diving in, let’s quickly look at the two main ways to install Ruby:
Ruby (standalone)
Installing Ruby alone allows you to write, compile, and execute the Ruby code. In this case you got the Ruby interpreter, tools to run Ruby scripts, and standard libraries. When all you want is to write some pure Ruby applications and run them, this is enough.
Ruby + DevKit
The Development Kit (DevKit) is a set of tools based on MSYS and MinGW that are required to compile native C/C++ extensions for Ruby gems. You need this when building Rails applications on Windows, as Rails often depends on such gems.

MSYS
Is the handy tool that makes Windows feel a bit like Linux. It gives you a command-line window called a bash shell where you can use commands commonly found in *unix environments making the development life easier.
MinGW
Is a version of the popular GCC compiler made to work on Windows. It also includes some helpful tools and files, like the ones needed to build programs that use Windows features.
Also, two main places from where to download the installation.
Ruby-Lang
This website is maintained by members of the Ruby community and provides installations for multiple operation systems including macOS, Linux, and Windows. Pretty much everything about Ruby can be found there; installation instructions, tools for multiple operation systems, third-party tools, etc.
RubyInstaller
The place offers to you the easiest way to install Ruby on Windows. Simple like that.
Because we’re running Windows and we’re living the vibe of simplicity with accelerated progress, our choice is Ruby + DevKit provided by RubyInstaller.
- Download Ruby + DevKit installer from RubyInstaller download page: rubyinstaller.org/downloads.
- At the time of writing, the recommended stable version is 3.3.8-1
- Execute the downloaded file.
- Locate the downloaded file named (or similar) rubyinstaller-devkit-3.3.8-1-x64.exe
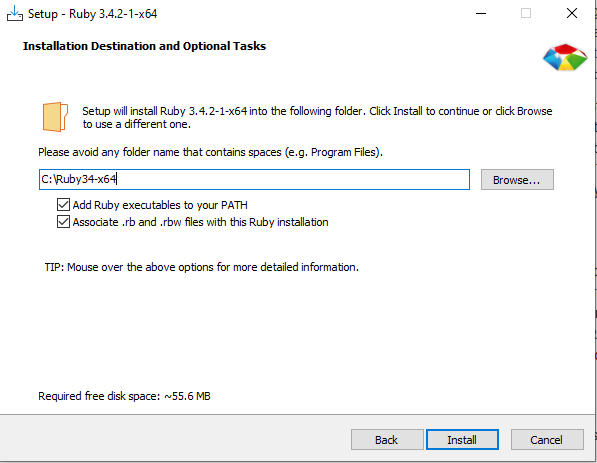
- Installer screen is shown. Make sure to set and remember the destination path for your Ruby installed files. Also, double-check selections for adding Ruby executables to your system environment variable PATH, and associate Ruby extensions .rb and .rbw with your Ruby installation.
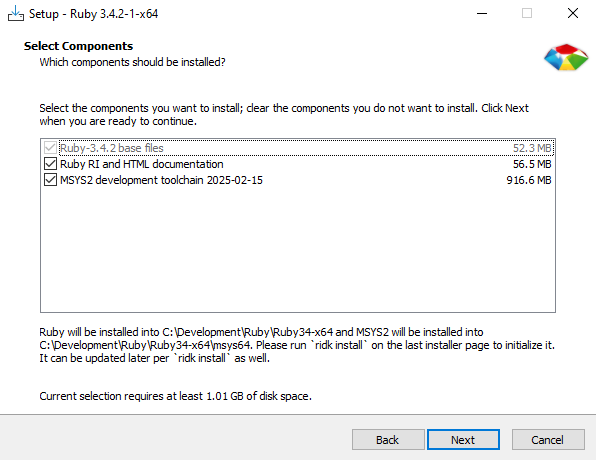
- On the next screen, keep selected optional components Ruby RI and documentation as well as MSYS2.
- The installation process will take a while copying everything…
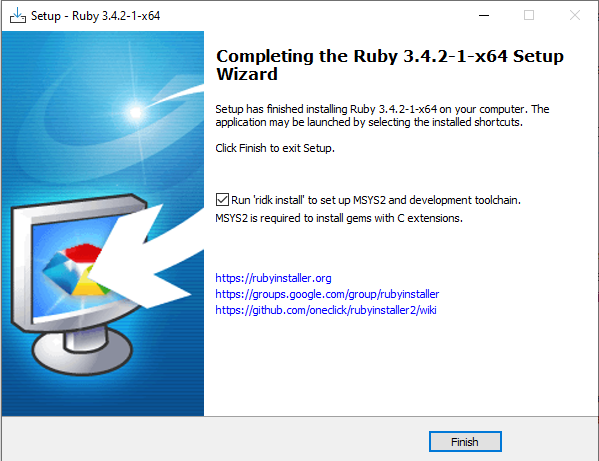
- Now, check if the option to run ridk install command is selected, and click on Finish.
- A new command prompt will open, asking which MSYS2 components to install.
Type 3 and press ENTER.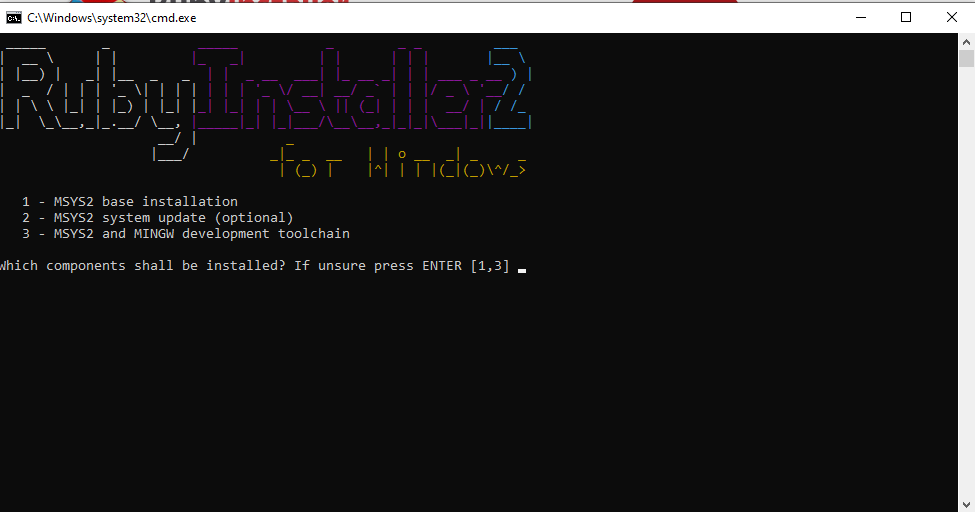
- While MSYS2 is installed, you’ll see lots of text flying by -don’t worry, it’s normal, just enjoy the Matrix moment.
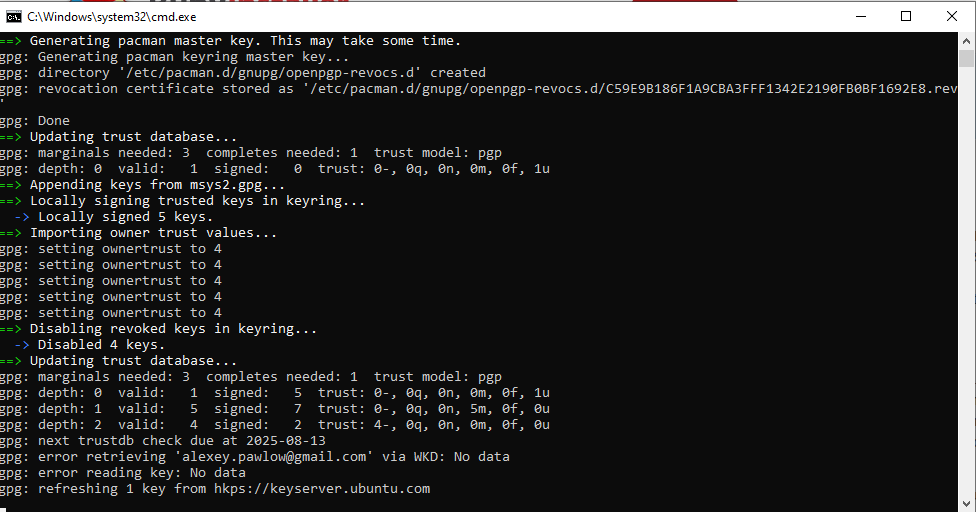
- At the end of the successful installation you will see:
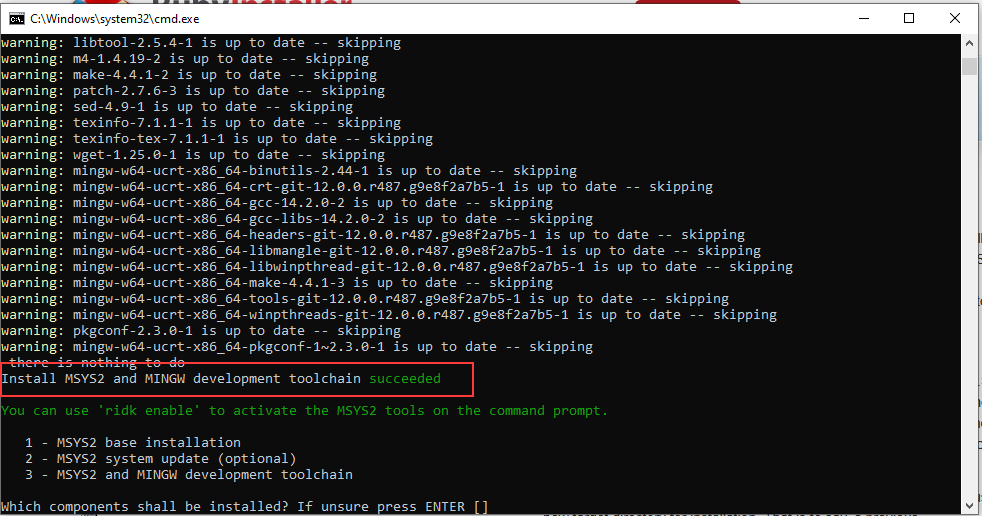
- As much confused you may feel with another list of options, just ignore it and hit ENTER to conclude the process and close the window.
- Now, open a command-prompt and type:
ruby --version
- Congratulations gem hoarder!
Installing Rails
After completing the Ruby setup, installing Rails is easy.
- Open a command-prompt and type:
gem install rails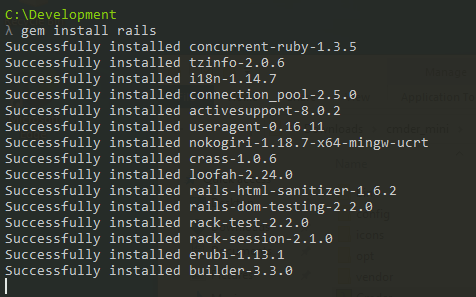
- Wait until the whole process of downloads and compilations is finished. This may take a few minutes to be done.
- By the end you should see the might Rails among those libraries recently installed:
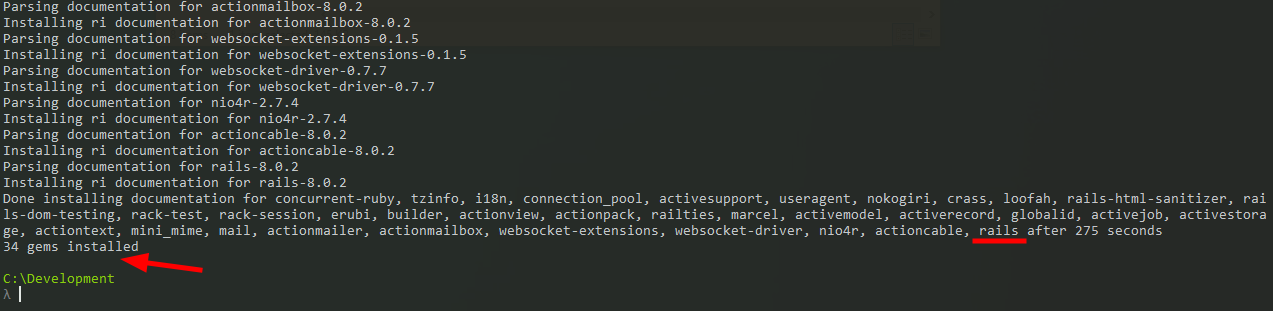
- Time to check for the truth. Type:
rails --version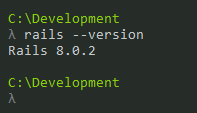
- Yes! The ruby-covered train is ready to roll, shining bright with magic, as it sets out to conquer the world by racing across the rails.
Installing IDE

Now that we have our local environment set to code with Ruby on Rails there is only one missing part: where to write the code.
Technically speaking -or should I say writing- we can code in any text editor -from Notepad to VS Code to IntelliJ. A report compiled by Stack Overflow in 20231 ranked Visual Studio Code as the most popular IDE with 73.71% of developers choosing this tool. Also, VS Code is free and highly customizable making it an easy choice when there is no other favourite to pick.
Having said that, I’m not going to cover the installation of any specific IDE instead I’m providing a list of some popular plugins to have when starting the first Ruby on Rails application.
VS Code FREE

Ruby LSP
- Official Ruby Language Server (recommended by VS Code docs in 2024).
- Auto-completion, syntax highlighting, and debugging support.
- Integrates Rubocop for formatting and linting (replaces older tools like Solargraph).
- Works seamlessly with rbenv and Bundler.
Rails DB Schema
- Provides IntelliSense for database columns (e.g., User.where(name: …)).
- Quick navigation to schema.rb for table definitions.
- Eliminates manual schema checks.
Mogami
Tracks Gemfile dependency versions (shows 🟢/🟡/🔴 for updates).
IntelliJ PAID

Ruby Plugin (official)
- Full Rails support: Code completion, navigation, debugging, and refactoring tools.
- Database integration: Schema awareness, query tools, and migrations.
- Testing frameworks: RSpec, Cucumber, and Minitest integration.
Rainbow Brackets
Color-codes nested brackets for readability.
ERB Formatter
Formats .html.erb templates (via third-party plugins).

Leave a comment